 Make your Android a webcam
VIA WiFi and USB
Download DroidCam on both PC and Android and install
Android: LINK
1.Download Android SDK LINK TO DOWNLOAD
2.Extract it To "C:\android-sdk-windows*
3.Your Phone Should have Debugging Mode Enabled and have installed all drivers of ur phone on pc
4.Connect your Mobile and run *SDK MANAGER.exe* from the Folder you extracted in Step 2
5. Right-click the ‘Computer’ icon and click ‘Properties’. Now click ‘Advanced System Settings’ from the options in the left pane to bring up the ‘System Properties’ window. Then click the ‘Environment Variables’ button on the ‘Advanced’ tab and find ‘Path’ in the ‘System variables’ section and click on edit (Note: Do not Delete any thing) and add as the line below at the end of the line with semi-colones and click ok.
;c:\android-sdk-windows\tools;c:\android-sdk-windows\platform-tools
E.G.

5.Start DroidCam on Both PC and Android . and keep ur phone connected and in Debugging mode.
6.In pC Client CLick on Connect to phone[USB] and Click on Connect
7.To test if it works or not open FaceBook or any messenger and use webcam option.
[How to enable Debugging Mode: Menu > Settings > Applications > Development and tick USB DEBUGGING]
Tutorial For Connecting VIA Wifi:
1.Start Droid Cam on both PC and on ur phone
2.In PC CLient click on Connect to Phone [WiFi]
3.Type ur phone's IP address in PC Client
4.To test if it works or not open FaceBook or any messenger and use webcam option.
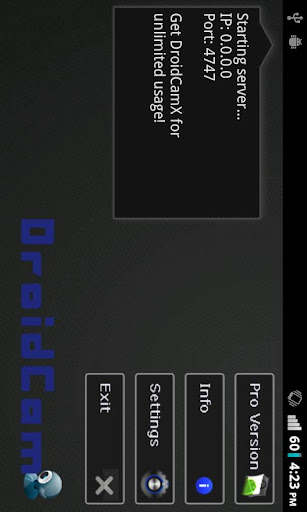
SCREENS OF DROIDCAM ON ANDROID & PC

VIDEO ON HOW IT WILL LOOK AFTER DONE


0 comments:
Post a Comment